The Blaaahg

Not just another food blog.
Posts in Snacks
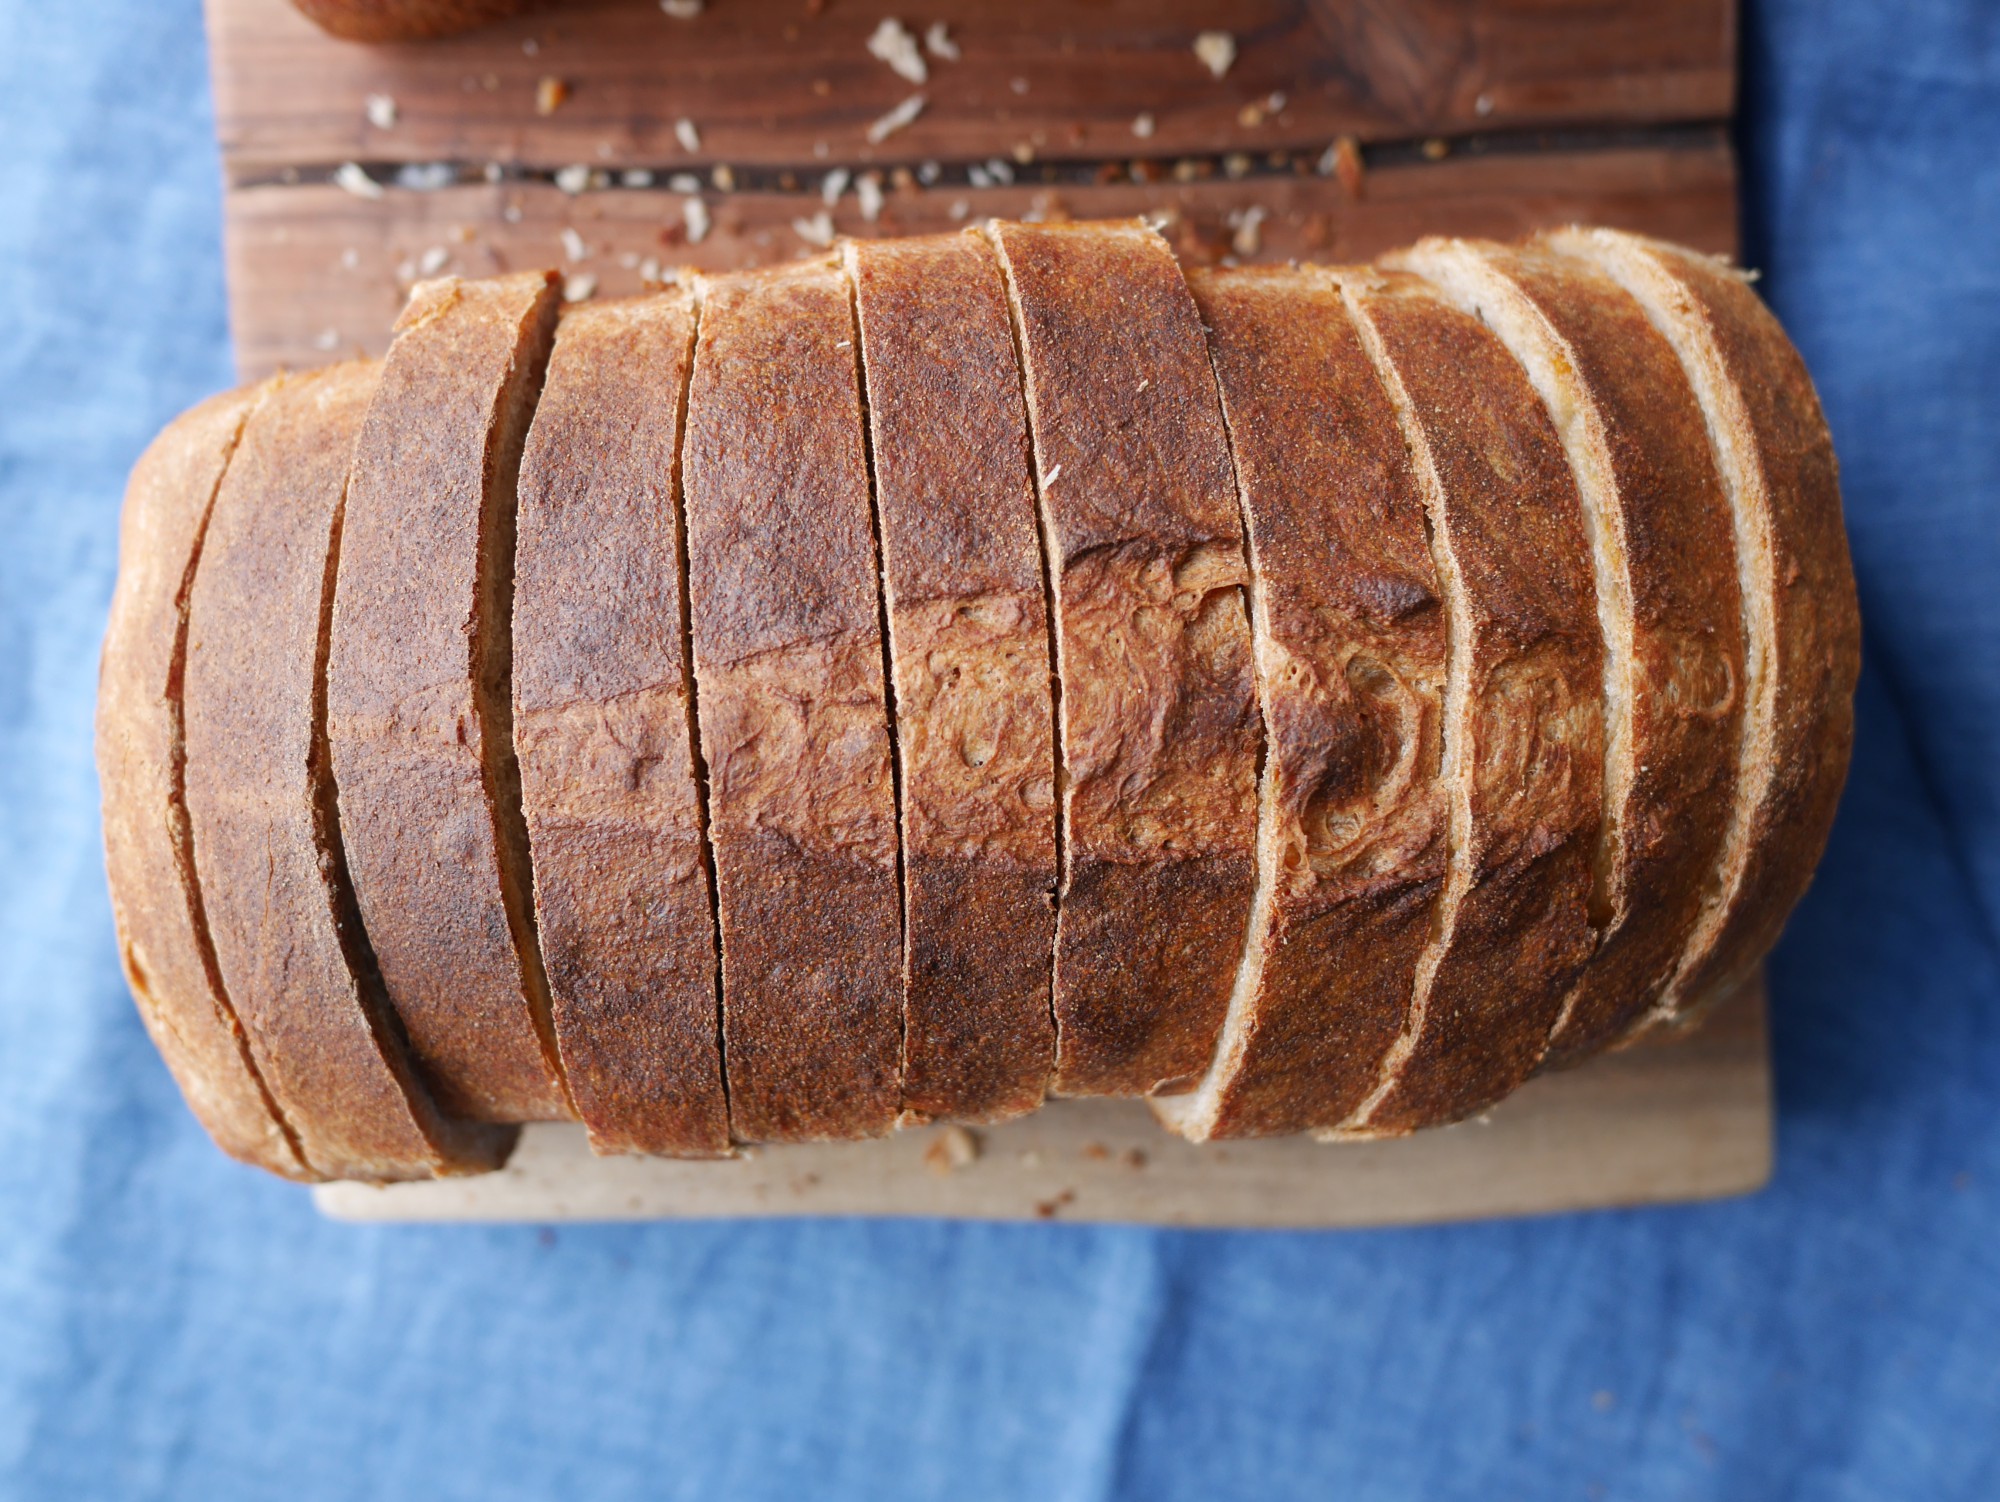
No-Knead Sandwich Bread
 

I've always been a bit intimidated by yeast. Something about the fact that it's a living thing and how easy it is to kill with water that's too hot. The great part about Jim Lahey's no-knead bread method is that you mix the flour, yeast, salt, and water together and let the yeast do their thing. It's a laid back and easy way to make bread and I love it.

Serve this toasted with a schmear of homemade ricotta. I discovered this combination was so addictive this spring, while developing a teaching curriculum for 8 middle schoolers. I adapted this recipe from the original, which needs a covered cast-iron pot and makes a round boule-style loaf. This needs a bit of kneading to help it rise enough in the oven, but not so much it becomes an arm-strengthening production. This allows the dough to rise uncovered (which is different from the original recipe).

Use a digital scale to measure the ingredients, if you can. And, if you made some homemade ricotta, you can save the whey to use instead of the water in this recipe for a nuttier, toastier taste. Just let it cool down completely before using.

p1030382-e1434419486586.jpg

No-Knead Sandwich Bread Adapted from Jim Lahey’s No-Knead Bread

Makes 1 loaf

Ingredients: 400 grams (3 cups) bread flour (ideally half-white half-wheat), plus additional for the work surface 8 grams (1¼ teaspoons) kosher salt 1 gram active dry yeast (¼ teaspoon) 300 grams (1⅓ cups) cool water (55 to 65 degrees F) Canola oil, for greasing

Equipment: 8½-by-4½ -inch loaf pan

Whisk the flour, salt, and yeast in a large bowl. Stir in the water and knead with a rubber spatula until a ball forms. Make sure it is sticky to the touch. If it is not, stir in 1 to 2 tablespoons more water.

Cover the bowl tightly with plastic wrap and set in at room temperature (about 72 degrees F) for 18 to 24 hours until more than doubled in size.

One hour before baking, grease an 8½-by-4½ -inch loaf pan with oil. Dust a work surface with flour. Scrape the dough from the bowl onto the floured surface and knead about 10 times, until the dough is no longer sticky. Pat into a 9-inch square, then fold the left third of the dough over the center third. Fold the right side of the square over the folded left and center third. Invert the dough into the greased pan, seam-side down.

Cover the pan loosely with plastic wrap and let rise at room temperature for 1 hour, or until doubled in size.

Preheat the oven to 450 degrees F at least 30 minutes before baking. Remove the plastic wrap from the dough. Use a knife to make a slash down the center of the bread, then dust the loaf with flour. Bake for 30 to 35 minutes, until golden-brown and the loaf sounds hollow when you tap on it. (Or check with a thermometer to make sure the inside reads 160 degrees F.) Let cool before slicing.

 
Easy Homemade Ricotta
 

Anyone who’s shared a home (or test kitchen) with me knows I have a weakness for cheese. If there’s a nutty alpine-style wedge or a round of creamy Bonne Bouche in the fridge, I can’t avoid its siren-call for one meal. (Sorry to those whose Cheddar has ever gone missing…) But, other dairy products languish in my refrigerator without a thought. I buy a quart of yogurt or pint of sour cream for a recipe, only to find colonies of mold coating the leftovers.

Ricotta has gone the same way of yogurt and sour cream, despite its technical categorization as cheese. Most store-bought brands have a spongy texture and a bland flavor, plus they are usually rife with stabilizers. (The one exception I know is Salvatore Bklyn ricotta, which is smooth and rich, but it's pricier.)

Then, my friend’s mom hired me to teach a cooking class to eight middle schoolers. I included no-knead sandwich bread and homemade ricotta in the curriculum. Ricotta is a fun, kid-friendly project that has a great aha moment: pouring the acid in causes the curds to separate from the whey in a matter of minutes. Ladle the curds into a cheesecloth-lined strainer set over a bowl and you’ve got ricotta. (The whey is a great swap for water in the no-knead bread recipe. Save it for up to 1 week.)

One taste of the homemade variety and I was hooked. I slathered it on warm toast, drizzled with a peppery olive oil, and showered it with flaky sea salt and freshly ground black pepper twice daily until the batch was gone.

Even though it’s easy and quick to make, the real reason to DIY ricotta is for the pure milk flavor with a bright, lemony tang. A note on ingredients: it’s worth splurging on high-quality organic milk. If you have a dairy stand at the farmers’ market, now is the time to indulge. This is about highlighting quality, otherwise there’s a yellow tub with your name on it at the store.

Serve this drizzled with oil and crackers, ideally with prosciutto, salad, and your other favorite sides nearby. Oh, and pour some rose, beer, or whatever your favorite drink is, too.

Homemade Ricotta Makes about 1 quart

Ingredients 12 cups whole milk 2 cups heavy cream ½ cup fresh lemon juice (you can also use distilled white vinegar) 2 teaspoons salt

Equipment: Cheesecloth, strainer, large pot, candy thermometer or an instant-read thermometer

Line a strainer with triple-folded cheesecloth. Set over a large bowl. Set aside.

Combine the milk and cream in a large pot over medium heat. Clip a candy thermometer to the side of the pan, if you have one. Warm the milk to 200º F. (This should take about 20 minutes.) Remove from the heat; stir in the lemon juice and salt. When the curds have separated from the whey, about 10 minutes, ladle them into the cheesecloth-lined strainer. Pour the remaining whey into the strainer and save for bread or discard.

Let drain until ricotta reaches the desired consistency, about 45 minutes to 1 hour. Transfer to an airtight container and refrigerate. Ricotta will keep for up to 1 week.

 
Orange-Ginger Cranberry Sauce
 
img_9351.jpg

Hear me out on cranberry sauce. This oft-maligned condiment is actually the stealth star of Thanksgiving.

You may casually spoon a jewel-toned dollop between sweet potatoes and stuffing just for color, but, sure enough, it sneaks onto every forkful, where it can make or break each bite. It's not worth messing with a meal you wait all year for, so this time, why not give it a little extra love?

As for the recipe. You may be thinking: two posts in a row with fresh ginger? She is crazy! Well, that may be true, but I love the spicy undertones ginger adds to sweet recipes. It anchors the sugar and offsets the tart cranberries, directing this under-appreciated dish away from cloying sweetness.

Plus, if you bought ginger to make spiced apple cider, then you probably have extra to use in this recipe.

Sure, you can dress up cranberry sauce with fresh lemon juice or just cook the berries with some sugar, but this slightly spicy rendition is sure to perk up the entire sideboard at your Thanksgiving meal.

Special thanks to Charlyne Mattox for introducing me to ginger-spiked relish. I don't think I'll ever turn back.

img_9354.jpg

Ginger-Orange Cranberry Sauce Recipe by Lindsay Hunt

Ingredients: 3 ½ cups (12 ounces) fresh or frozen cranberries ¾ cup sugar ½ cup freshly squeezed orange juice, plus two 2-inch strips of zest 1 tablespoon finely grated fresh ginger ¼ teaspoon kosher salt

Equipment: A fine grater, such as a Microplane

Directions: 1. Combine the cranberries, sugar, orange juice, ginger, and salt in a medium pot. Bring to a boil over medium-high heat, stirring occasionally. Reduce heat and simmer, stirring often, until about half of the cranberries have popped, 2 to 3 minutes.

2. Cool the sauce and transfer to a serving dish. Cranberry sauce can be made up to 3 days ahead. Let come to room temperature before serving.